So far I hadn't been able to find the solution to this specific topic. There´s a lot of information on server based Revit worksharing, which is the way it is designed and meant to be. But in the real world there will be many cases where you don't use a server. For example a team of students trying to complete their assignment project, a small office with 2 or 3 computers, or even a home network where spouses work together in the same project.
In my experiments I kept on receiving the following error message from Revit:
Revit cannot find central model "perhaps due to a lost network connection"
Last week I found a couple of blogs (in spanish) that address similar issues,
BIM level.com and
cursorevit.com. At Ivan's blog I posted my question and thanks to him here I can give you the step by step procedure for Windows 7.
Let's name "The main PC" as the computer holding the central model, and "Laptops" as the computers where you will work your local files.
1.-First all computers must be at least in a Windows Home Group, or something more sophisticated if you know how.
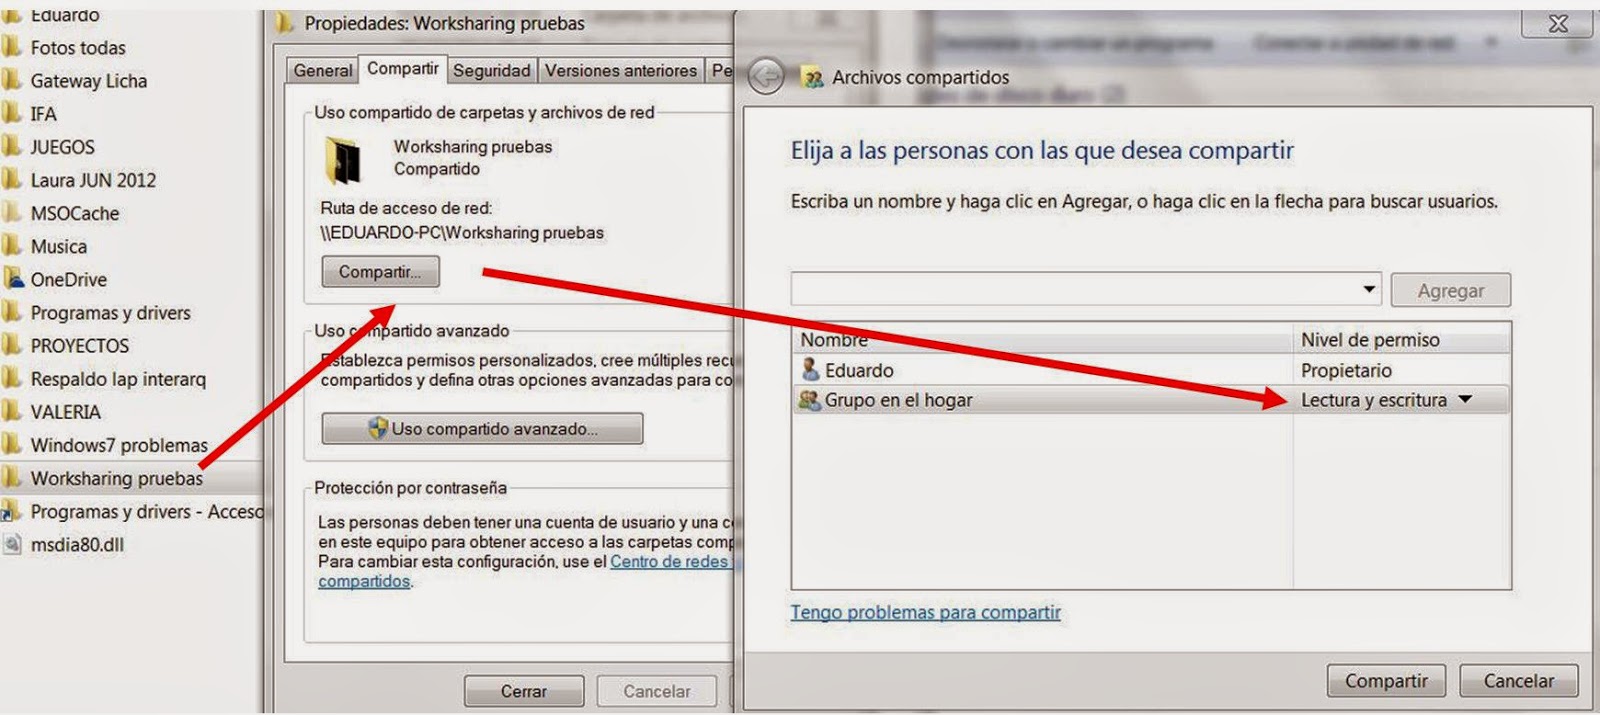
2.-Go to the folder where your project is located. It can be anywhere in your computer, and share it on the network, both "reading" and "writing".
 |
| Click to enlarge |
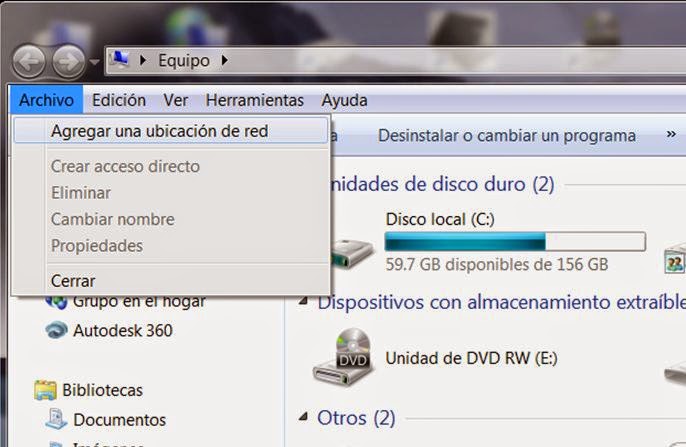
3.-In the main PC open your "Computer" icon at the desktop and under the File menu choose "Add a network location"
 |
| Click to enlarge |
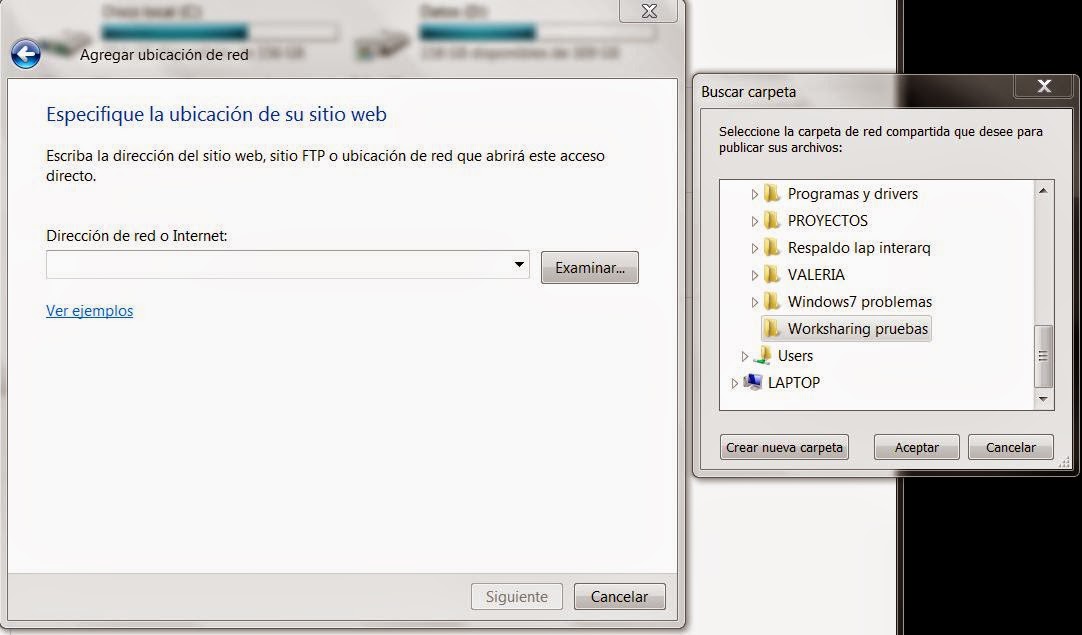
4.-You will then choose the network location. This will be your project files folder you have configured as shared.
 |
| Click to enlarge |
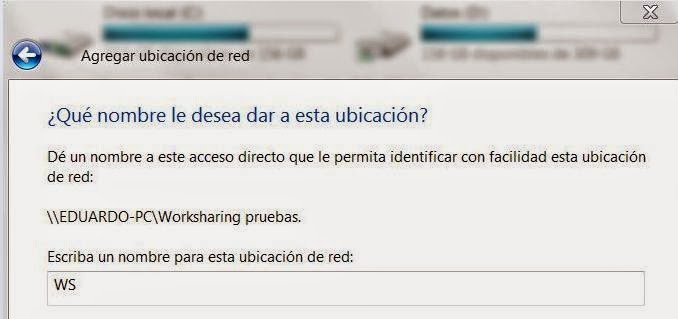
5.-Then you are prompted to assign a name to the network location. In this case I wrote WS, you can choose a drive letter such as Z or X. Most probably in Windows 8 you are prompted for the drive letter in the first step.
 |
| Click to enlarge |
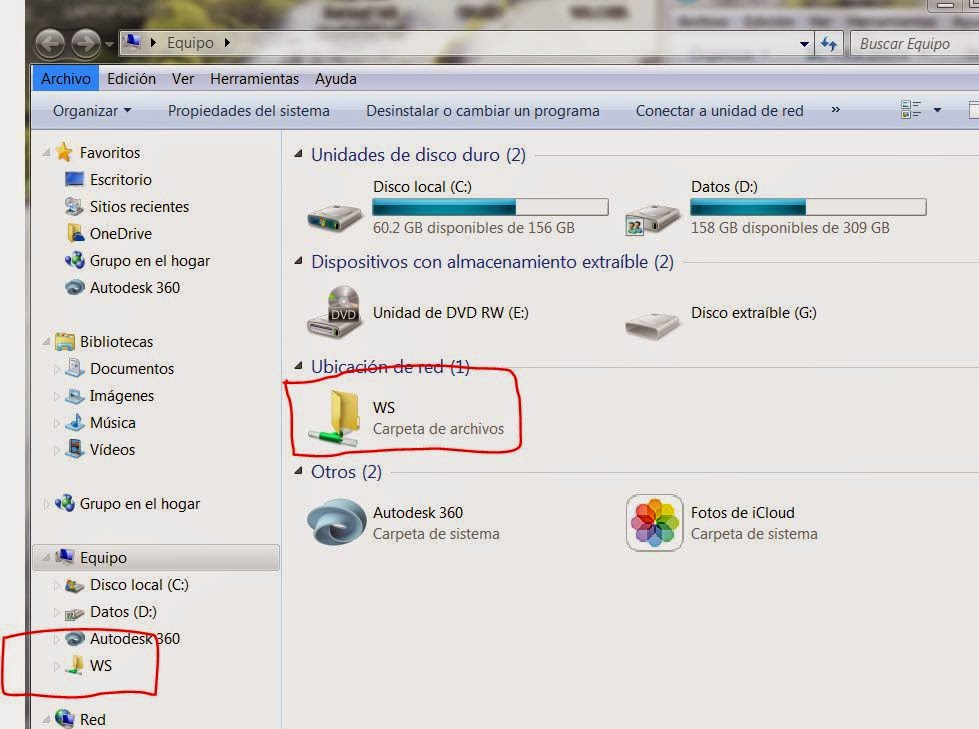
6.-WS is now shown as a drive location under the "Computer" tree.
 |
| Click to enlarge |
7.-Main PC is done. Now go to your laptops and repeat steps 3 thru 6. Be sure to read the file location from your Main PC. When finished, your laptops' computer tree shown in step 6 must be identical than that in your main PC.
8.-You're now ready to start Revit worksharing in your Windows Home Network!!!!

So nice!!!! Thanks a lot to this clear and simple step-by-step! Congrats!
ReplyDeleteHi, I managed to setup the folders as described above and able to access the file from main PC to other PC's. But I can create a local file in other PC's from this network location. Any help and thoughts?
ReplyDeleteThank you so much.
ReplyDelete