 |
| Let´s turn this Autocad human figure block into a Revit family |
STEP 1.
Create a new family using the Detail Item template
STEP 2.
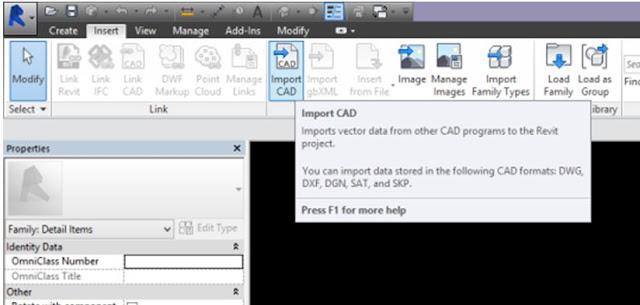
Insert the AutoCad block and move it to the origin (where the reference planes cross).
STEP 3.
Draw a reference plane at 1750mm to set the human figure's height. This will allow you to SCALE the AutoCad block to the correct size.
STEP 4.
Scale up to 100 the AutoCad block. Why? Because we're going to sketch lines over it and Revit will otherwise bother you with the abominable "Element is too small on screen". So scale it up before sketching!!!
STEP 5.
Sketch detail lines using the "PICK LINES" tool. You can give these lines a human figure category if you wish. Then move the imported AutoCad block and DELETE it.
STEP 6.
Sketching again with the Pick Lines tool, create
a) A Masking Region
b) A Filled Region - solid black
Move them both to one side, say 75000mm apart from each other and this is what you get:
Assign YES/NO visibility parameters so you can have 3 options when inserted in your project: Make sure you choose INSTANCE parameters so they can be controlled individually.
STEP 8.
Move the Masking and Filled regions back on top of the detail lines figure.
STEP 9.
Scale them all back down 0.01. Tip: for the masking and filled regions, you need to EDIT THEIR BOUNDARY in order to scale them down.
 |
| Back to scale |
STEP 10.
Save and load into project. You can now have the human figure with 3 different graphic representation options: transparent, opaque, and solid filled, just by checking the boxes in the properties palette.


No comments:
Post a Comment