The most efficient way to create wall niches in Revit is to do the niche as a loadable family which obviously needs to be flexible. Let's start by creating a family with the Generic model wall-based template.
As seen in the following image, go to the placement (front) elevation and sketch the reference planes which will act as the niche's flexible skeleton:
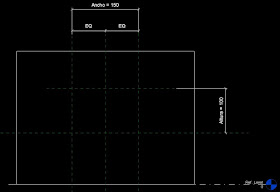 |
| Ref Planes and parameters |
Create the following Dimension Parameters: Height, Width and Depth. They all need to be "INSTANCE PARAMETERS" so that each niche's dimensions can be individually controlled in any project.
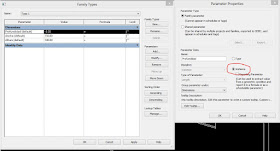 |
| Instance Parameters |
Now trace the niche's geometry. In this case it will be a rectangular shape using the "VOID FORMS - EXTRUSION" tool. Next align and LOCK all sketch lines to the reference planes.
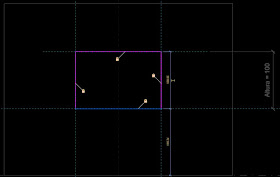 |
| Align and lock geometry to Ref Planes |
Before finishing the extrusion you need to assign parameters for depth located in the Properties Palette. Give an "Extrusion End" value of 25cm or whatever positive value you want. This positive value makes an "overhanging" void and ensures the front surface of the wall is effectively cut.
Then go to the "Extrusion End" field and associate the DEPTH parameter by clicking on the right hand button and selecting the parameter from the list.
 |
| Void extrusion depth |
Once the void extrusion is finished make sure to use the "CUT GEOMETRY" tool between the extrusion and the wall so you get something like this:
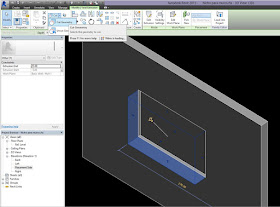 |
| Cut Geometry |
Before the niche family is finished review the Properties Palette and make sure "Cuts with voids when loaded" is checked. This allows the void family to cut through the walls when applied in any project.
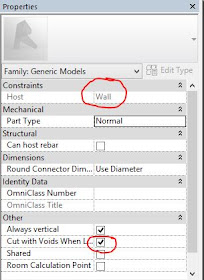 |
| Cuts with voids when loaded |
That's it! Save the family and load it into your project. Use your new niche from "Component-Place a Component" on any wall:
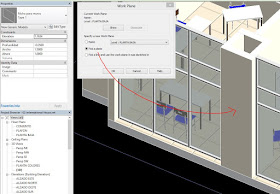 |
| You might need to specify a work plane |
And this is how the niche looks like after adjusting its instance parameters as desired:
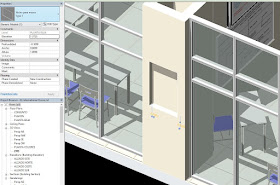 |
| Niche applied |
OPTION B: NICHE WITH A MODEL-IN-PLACE SHAPE.
When you want to have a non-conventional shaped niche, and if you don't plan to use that shape in other projects, you might want to use the "Component-Model in Place" tool to model any form just as the following revolution void:
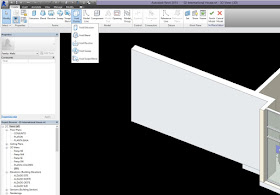 |
| New void form |
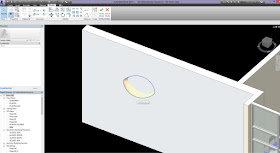 |
| Model in place void revolve |
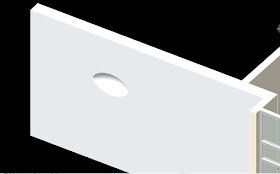 |
| After applying "CUT GEOMETRY" |
As you can imagine this can be done not only in walls, but in all other constructive elements found in Revit such as roofs, floors, ceilings, soffits, etc. You just need to carefully plan for the appropriate family template since a Wall-Based family will never work on a roof, and viceversa.


Great. Other possibility is create 2nd thinner wall, give it the required dimensions then give it material properties as 'air' then hide it. Then paint niche faces as required.
ReplyDeletevery helpful thank you very much!
ReplyDeletei like your informantion , tanks.
ReplyDelete